To add a story:
- Go to “Posts” on the WordPress Toolbar “Add New Post”
- Enter the title.
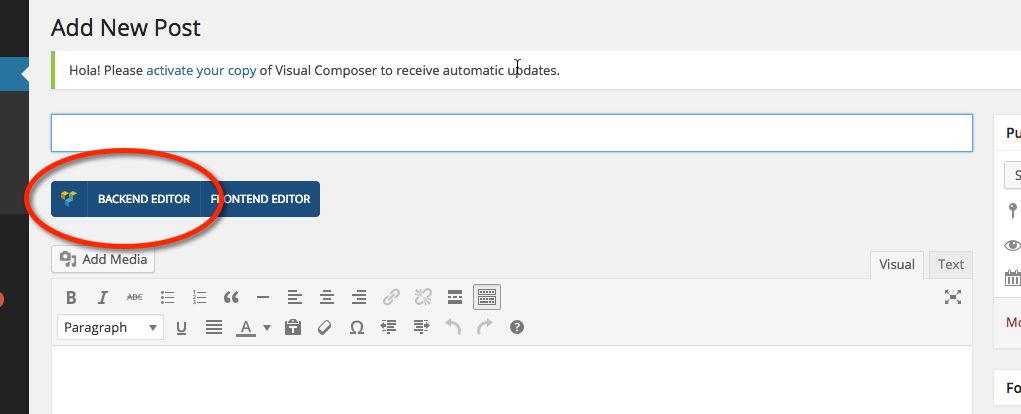
- Click on “Backend Editor” to activate Visual Composer.
- Hover over “Templates” and select “story_template” which will give you a page template with your story on the left and your glossary on the right.

- Delete the template story and glossary and add your new story and glossary to the page.
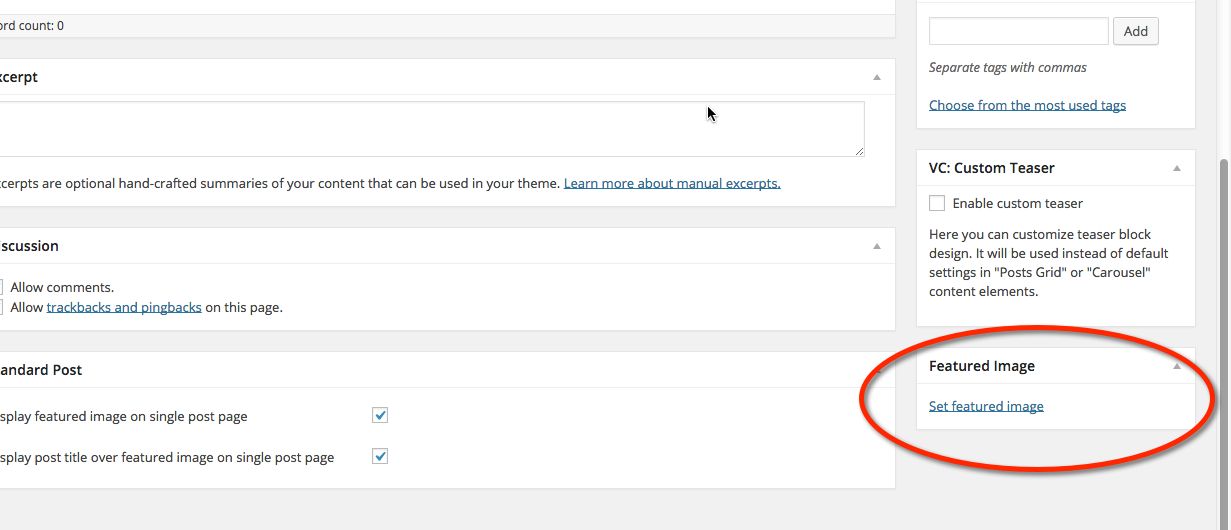
- Scroll way down to the bottom right to “Feature Image” and add your Feature Image where it says “Set Featured Image”. This will then automatically use this image on the post page where it supposed to go.
To add an image to the Home Page Slider:
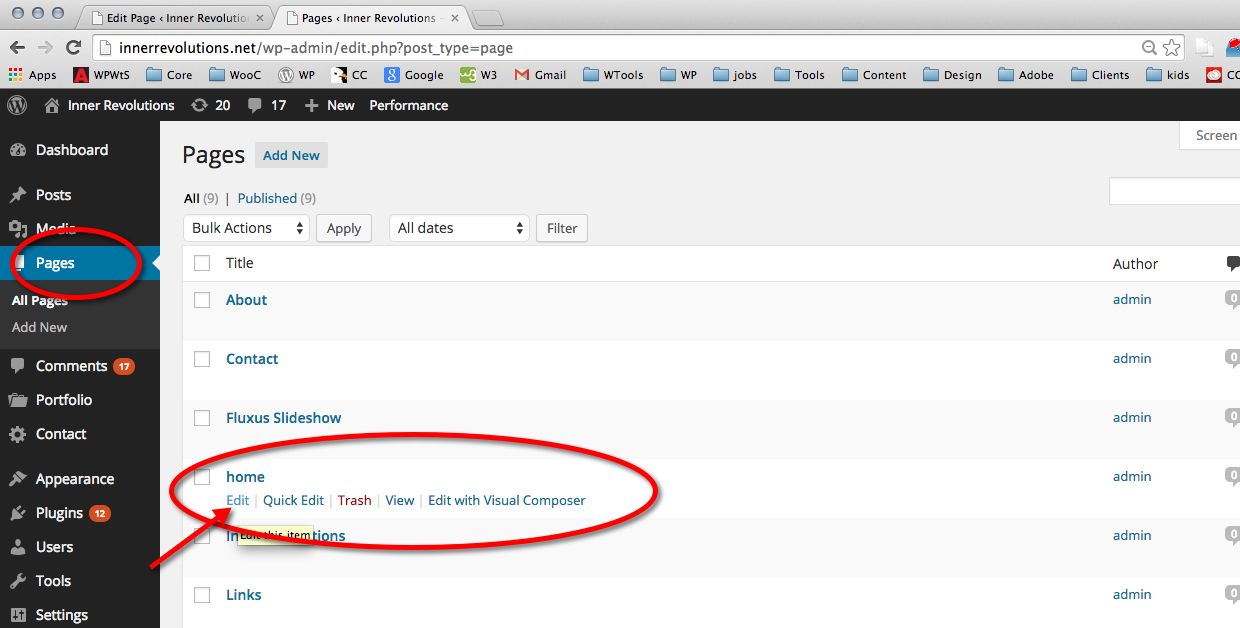
- Go to Pages > and find the Home page.
- Click “edit” to open the Home page.
- Notice there are images on the Home Page in the Content. These are the images that are in the Slideshow
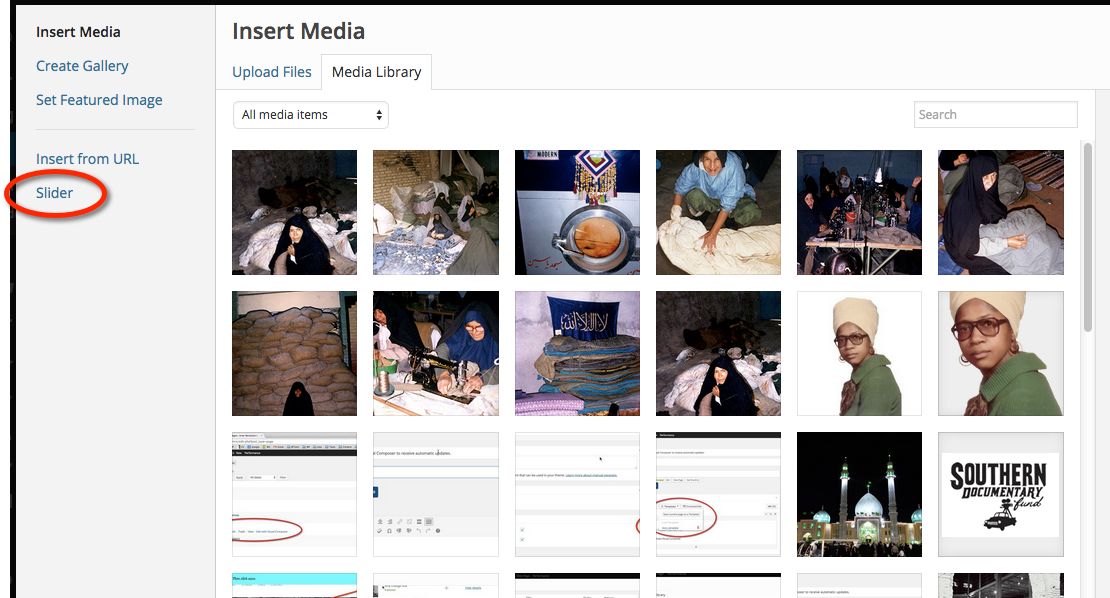
- Go to “Add Media.”
- If you want to add a new image that is not in the Media Library to the slideshow, go to Upload File and bring in a new image.
- If the image for the slideshow is in the Media Library, select it and add it to the page. The order of the images is not important because you can change the order in the slideshow.
- When you want to work with the slideshow, make sure the image is on the Home Page, the go to “Add Media” and click on the Slider.
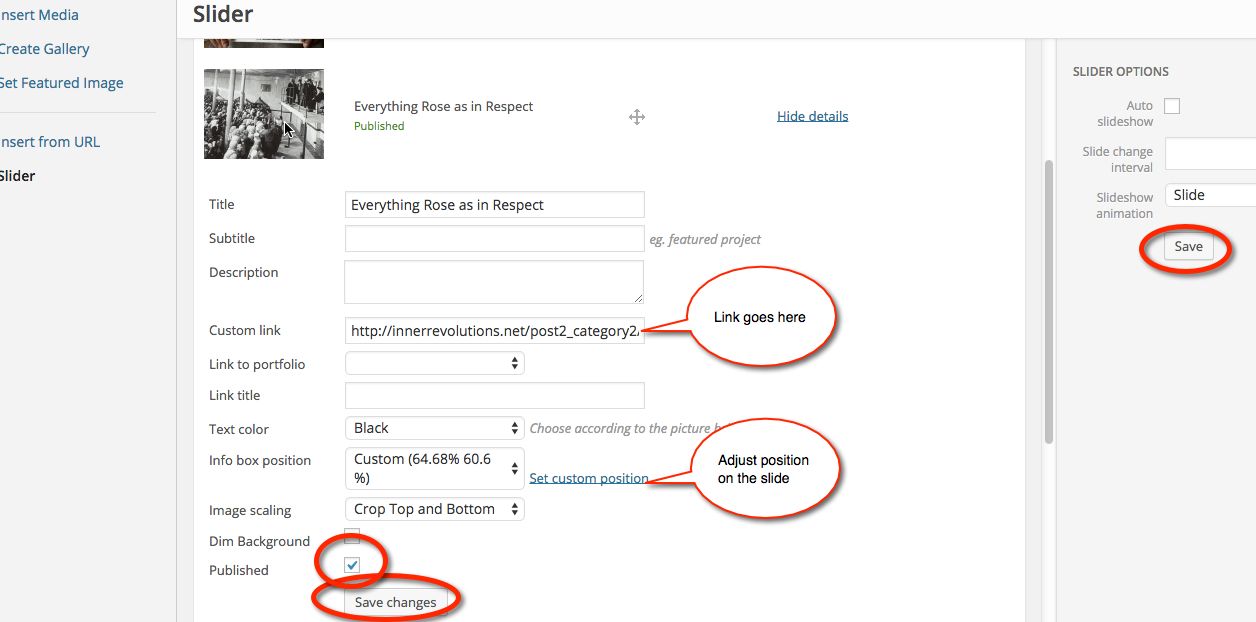
Working with the Slideshow
- Once you get into the Slideshow you can see all the information. As we saw all the text for the slideshow is place in automatically when you put text in the fields for each slide.
- The “View” button is not active unless there is a link in the link box to specific story.
- To get the link, go to the story and copy the entire url from the top of the browser and paste it into the “Link” box.